Blog
Hands-on Density Experiment

This density lab is gooey, fun, and one your students will talk about all school year.
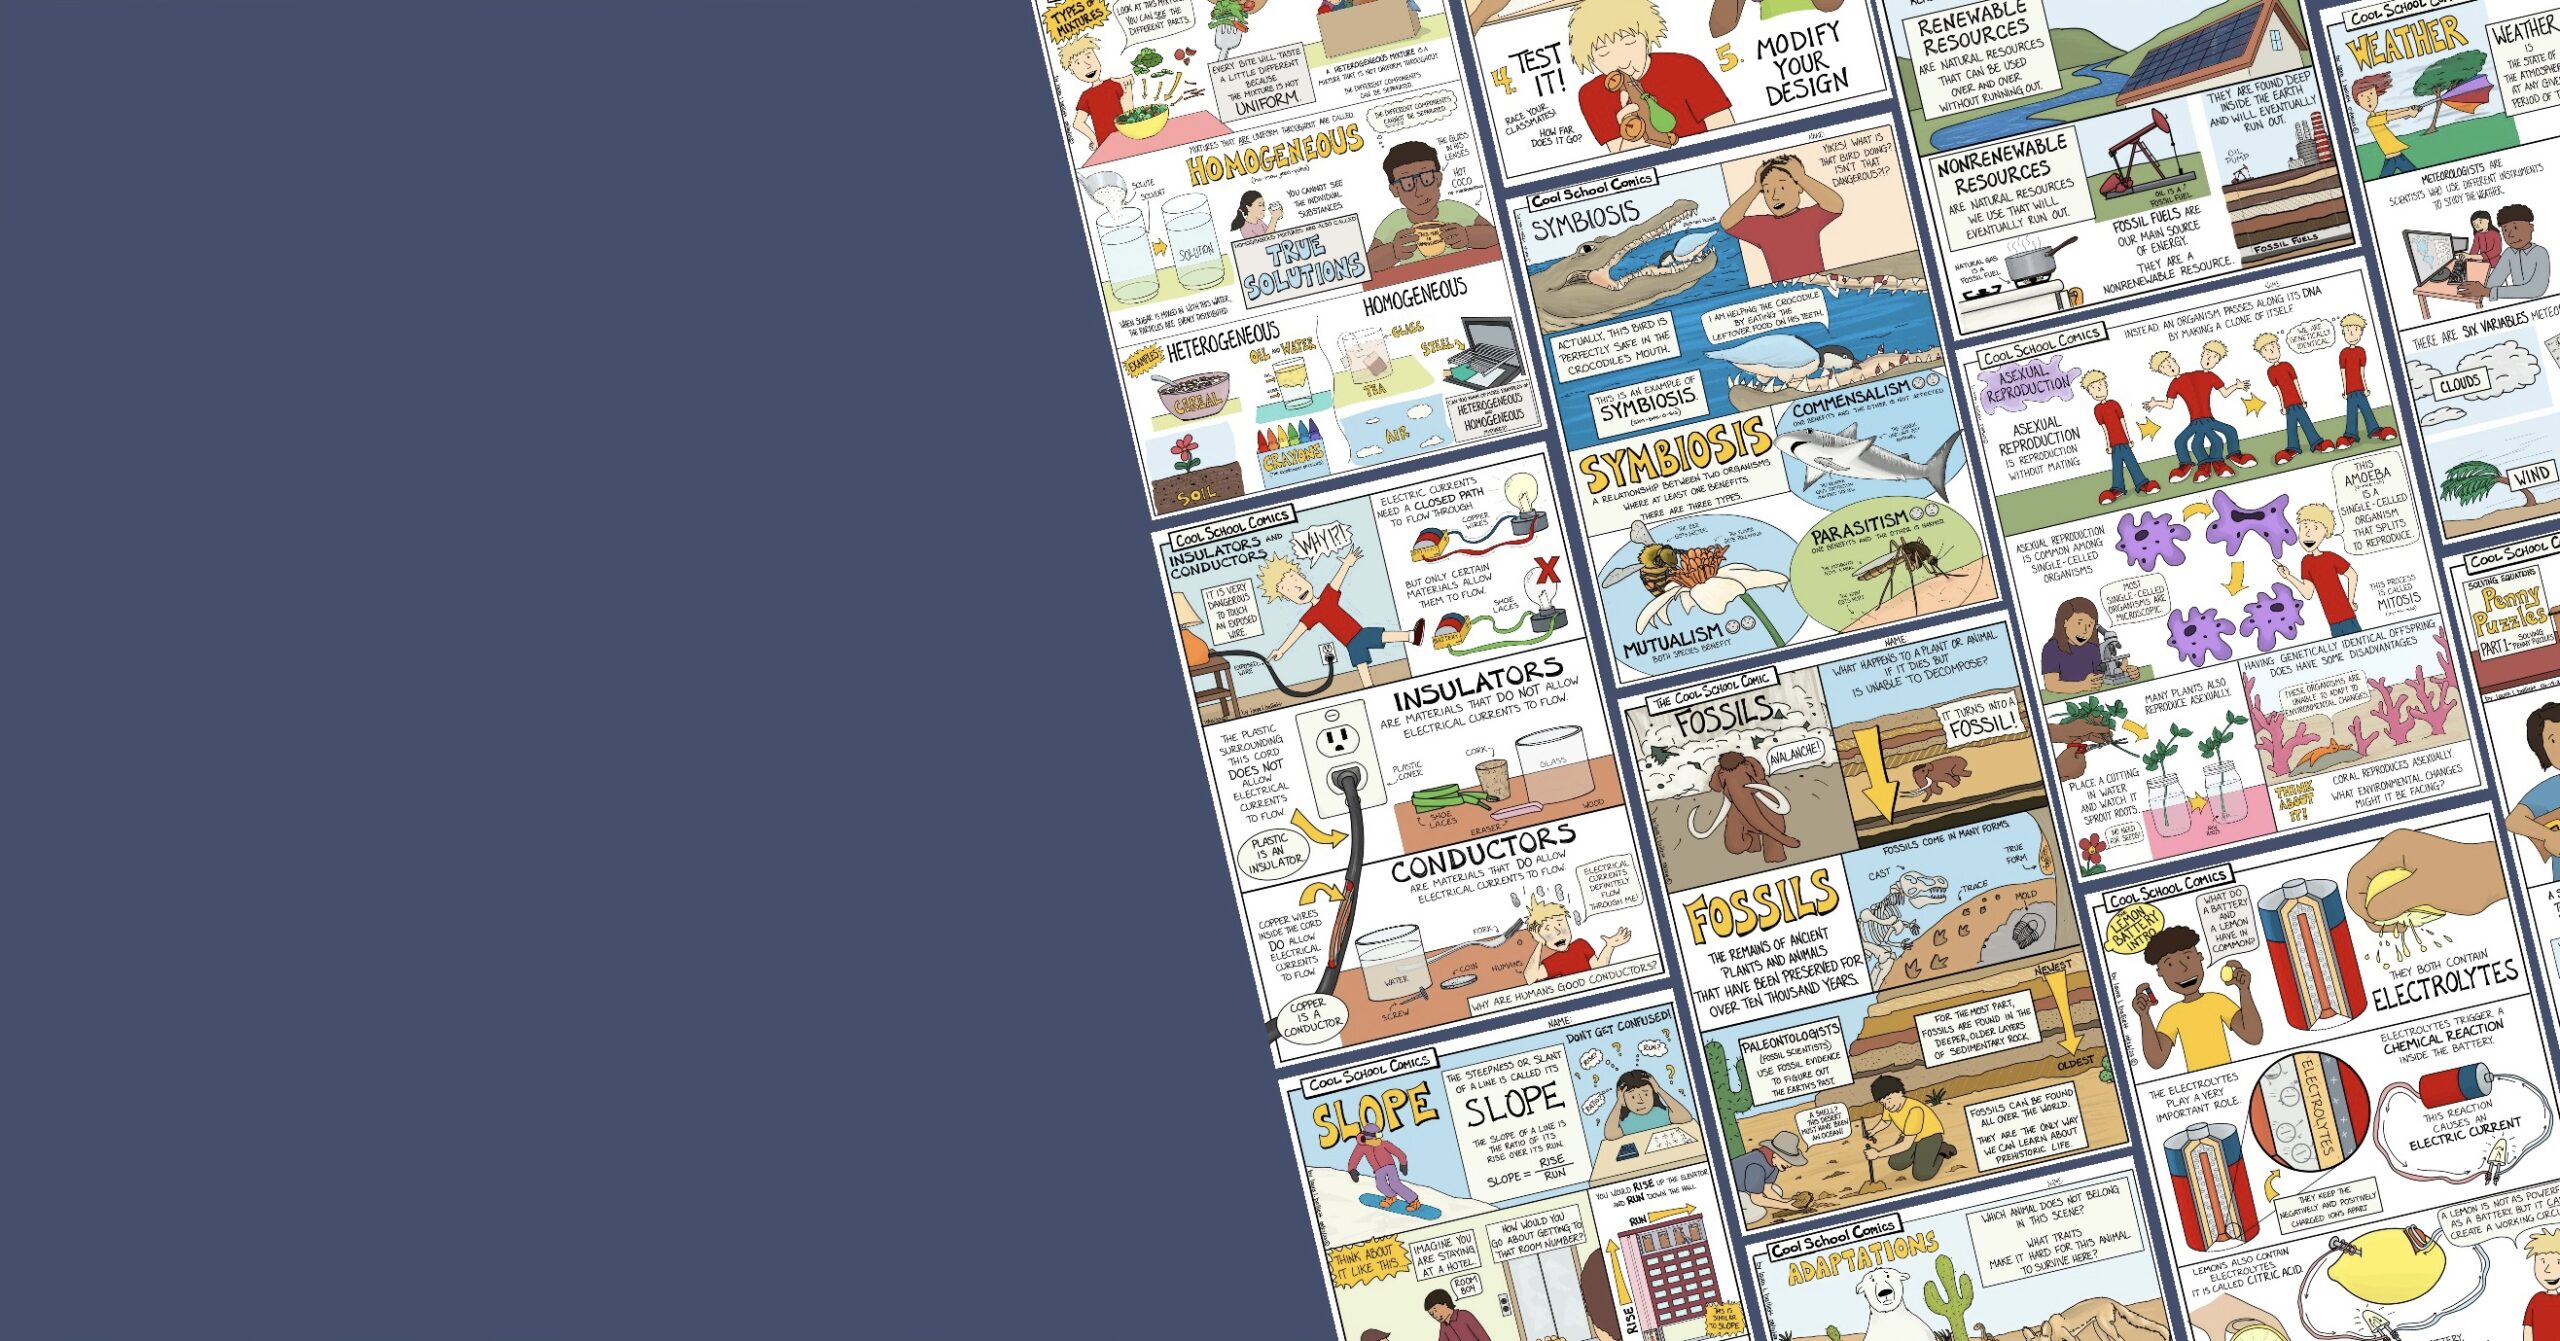
Just gather a handful of everyday liquids, a jar, and the Cool School Comics comic-style lesson plan, and you are ready to conquer this topic with style.
Kids love comics and active learning. This hands-on experiment incorporates both and leaves them understanding the concept of density and retaining it.
As middle schoolers embark on their science journey, hands-on experiments become the building blocks of knowledge. One exciting experiment that brings together physics, chemistry, and critical thinking is the creation of density towers.
Revamp your curriculum, get those kids off the screens, and get them involved in active learning.
Density Overview
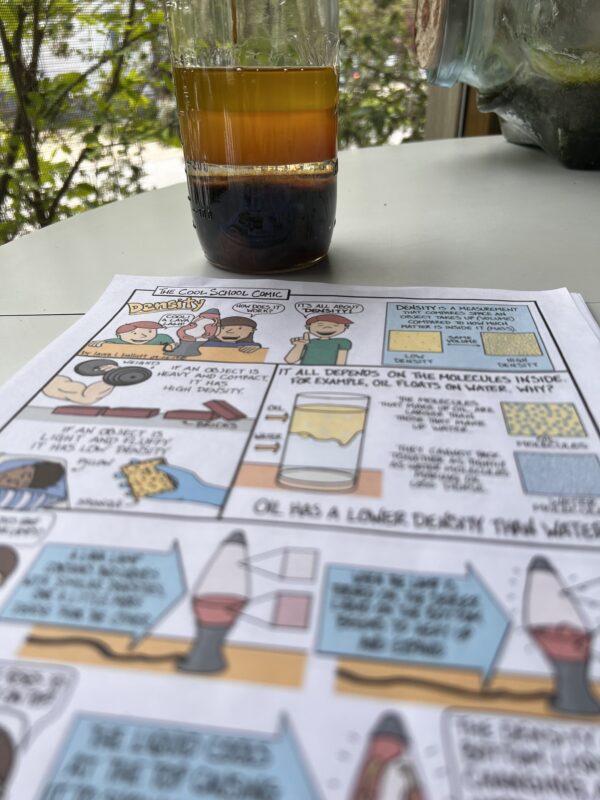
Before we dive into the step-by-step process, let’s briefly touch on the concept of density. Density is the measure of how much mass is packed into a given volume. Different materials have different densities, and this property is what enables us to create impressive density towers.
Step 1: Gathering Materials
To start your density tower project, gather the following materials:
- Various liquids (water, oil, syrup)
- Small objects of different densities (marbles, small toys, paperclips)
- A tall, transparent container (a clear drinking glass or a narrow vase works well)
- Food coloring (optional)
- Dropper or pipette
Step 2: Preparing the Liquids
Fill small containers with the liquids you’ve chosen. You can use water, colored water (add a drop of food coloring), cooking oil, and syrup. Make sure each liquid is a different color to make your tower visually appealing and informative.
Step 3: Collecting Objects
Gather small objects with varying densities. These could be marbles, small plastic toys, paperclips, or even small sections of fruit. The key is to have objects that will float or sink in the different liquids you’ve chosen.
Step 4: Layering the Density Tower
Here’s where the magic happens! Carefully pour your liquids into the tall, transparent container, one at a time. Start with the liquid that has the highest density (syrup or oil), followed by the next densest liquid (colored water), and so on. The liquids will naturally separate due to their different densities, creating distinct layers.

Step 5: Adding Objects
Now comes the fun part! Gently drop your small objects into the container. Watch as they settle into the layers based on their density. Heavier objects will sink to the bottom of the corresponding liquid layer, while lighter objects will float higher up.
Step 6: Observing and Analyzing
Once your density tower is complete, take a moment to observe and analyze the results. Discuss the patterns you observe with your fellow scientists (friends, family, or classmates). Why do certain objects sink or float in specific layers? What role does density play in this experiment?
Step 7: Reflecting and Learning
Conclude your density tower experiment by reflecting on what you’ve learned. Discuss the importance of understanding density in various real-life scenarios, such as why some objects float in water while others sink. Think about how density influences the behavior of substances in our world.
The Lesson Plan provides the follow-up lab report to help your students carry out these final steps. CLICK HERE to check it out.
Conclusion: Building Knowledge, One Layer at a Time
Creating these towers is more than just a fun experiment – it’s a dynamic learning experience that bridges science concepts with hands-on exploration. As middle school students engage in building density towers, they develop a deeper understanding of the concept, buoyancy, and the scientific method. This activity ignites their passion for discovery while nurturing skills in observation, analysis, and teamwork. So, gather your materials, roll up your sleeves, and embark on a journey to build towering pillars of knowledge in your very own classroom!
Check out the full activity on the Cool School Comic Clip YouTube channel. CLICK HERE!
Check out the Cool School Comics shop to see our full library of hands-on science activities. CLICK HERE